
How to Check Refrigerant Level in AC: Step-by-Step Guide
Understanding the Importance of Checking Refrigerant Levels in Your AC
Maintaining optimal refrigerant levels in your air conditioning (AC) system is crucial for its efficient operation. Refrigerant is the lifeblood of your AC, responsible for absorbing heat from the indoor air and releasing it outside. When refrigerant levels are low, the system struggles to cool your space effectively, leading to increased energy consumption and higher utility bills. Regularly checking and maintaining refrigerant levels ensures that your AC operates at peak efficiency, providing a comfortable environment in your home or office.
Key Reasons to Check Refrigerant Levels:
- Efficiency: Adequate refrigerant levels enhance the cooling efficiency of your AC, reducing energy costs.
- Longevity: Maintaining proper refrigerant levels can extend the lifespan of your AC unit by preventing excessive wear and tear.
- Environmental Impact: Refrigerants can be harmful to the environment; ensuring proper levels helps minimize leaks and reduces your carbon footprint.
- Indoor Air Quality: An AC unit low on refrigerant may not effectively filter air, leading to poor indoor air quality and potential health issues.
Another significant aspect of checking refrigerant levels is the prevention of costly repairs. Low refrigerant can cause the compressor to work harder than necessary, leading to overheating and potential failure. This not only results in expensive repair bills but can also necessitate a complete system replacement if the damage is severe. By proactively monitoring refrigerant levels, homeowners can avoid such scenarios and save money in the long run.
Finally, understanding refrigerant levels is essential for identifying potential leaks in your AC system. If you notice a decrease in cooling efficiency, it may be a sign of a refrigerant leak, which should be addressed immediately. Regular maintenance checks, including refrigerant level assessments, can help detect these issues early on, ensuring your AC remains in optimal working condition and your home stays cool and comfortable.
Step-by-Step Guide: How to Check Refrigerant Level in AC
Checking the refrigerant level in your air conditioning (AC) unit is crucial for ensuring optimal performance and efficiency. Low refrigerant levels can lead to inadequate cooling and increased energy costs. Here’s a step-by-step guide to help you check the refrigerant level in your AC system.
Step 1: Gather Necessary Tools
Before starting the process, make sure you have the following tools on hand:
- Manifold gauge set: This tool allows you to measure the refrigerant pressure in the system.
- Thermometer: A digital or analog thermometer will help you check the temperature of the air coming out of the vents.
- Safety gloves and goggles: Protect yourself while working with refrigerants.
Step 2: Turn Off the AC Unit
Safety is paramount. Begin by turning off your AC unit and disconnecting it from the power source. This prevents any accidental starts while you are checking the refrigerant levels. Locate the service valve on your AC system; this is typically found near the compressor.
Step 3: Connect the Manifold Gauge
Attach the manifold gauge set to the service ports. Ensure the blue hose is connected to the low-pressure side (suction side) and the red hose to the high-pressure side (discharge side). Once connected, turn on the AC unit and let it run for a few minutes to stabilize the pressure readings.
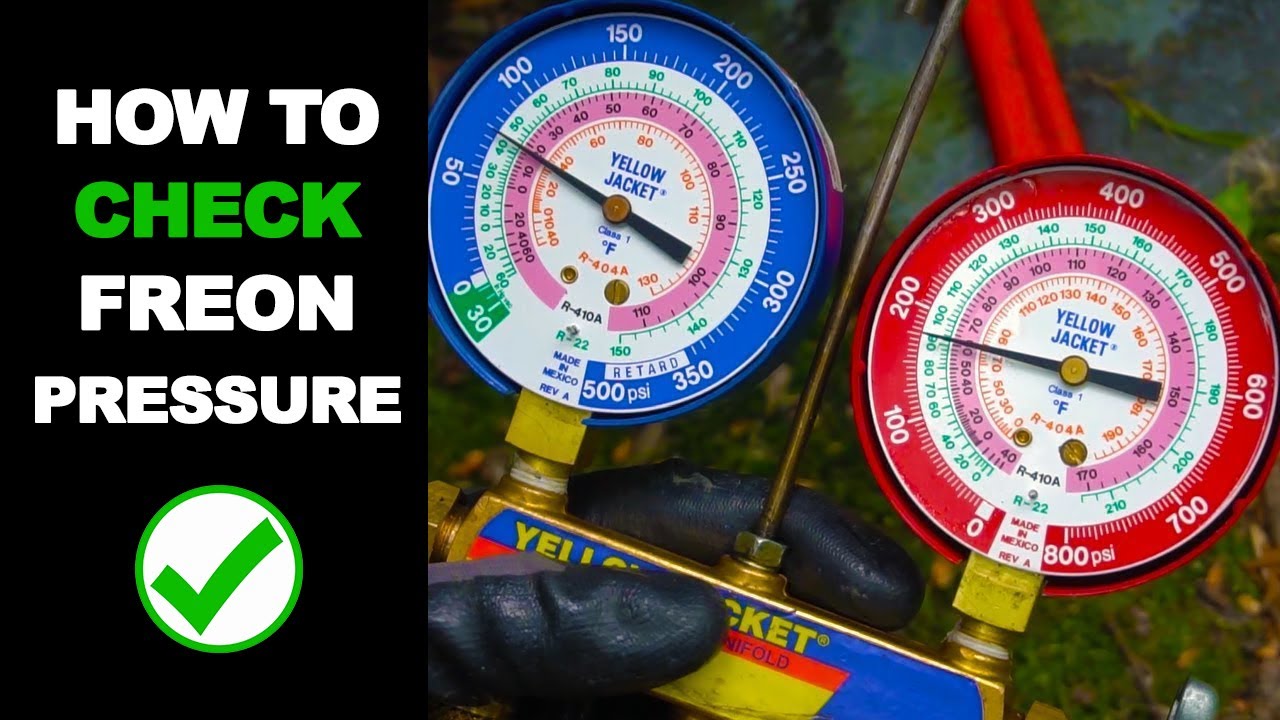
Step 4: Read the Gauges
After allowing the system to run, check the pressure readings on the manifold gauges. Compare these readings to the manufacturers specifications, which can usually be found in the user manual or on a label on the unit itself. If the pressure is below the recommended level, it indicates low refrigerant, and you may need to recharge the system.
Common Signs of Low Refrigerant Levels in Air Conditioners
When your air conditioner is low on refrigerant, it can lead to a range of issues that compromise its performance and efficiency. Recognizing the common signs of low refrigerant levels is crucial for timely repairs and maintaining a comfortable indoor environment. Below are some key indicators that your air conditioning system may be experiencing refrigerant deficiency.
1. Inadequate Cooling
One of the most noticeable signs of low refrigerant is inadequate cooling. If your air conditioner is running but not producing cool air, it may indicate that the refrigerant levels are insufficient. The system may struggle to maintain the desired temperature, resulting in discomfort, especially during hot weather.
2. Increased Energy Bills
Another common sign is an unexpected spike in your energy bills. When your air conditioner is low on refrigerant, it has to work harder to achieve the desired cooling effect. This increased workload can lead to higher energy consumption, causing your utility bills to rise significantly. If you notice a sudden increase in your energy costs without any change in usage, it may be time to check your refrigerant levels.
3. Ice Formation on Coils
If you observe ice forming on the evaporator coils or refrigerant lines, it’s a strong indication of low refrigerant levels. When the refrigerant is insufficient, the pressure in the system drops, causing the coils to become too cold and leading to ice buildup. This not only affects the cooling efficiency but can also cause further damage to your air conditioning unit if left unaddressed.
4. Hissing or Bubbling Noises
Unusual sounds such as hissing or bubbling can also signal low refrigerant levels. These noises often indicate a refrigerant leak within the system. If you hear such sounds coming from your air conditioner, its essential to have a professional inspect the unit for potential leaks and replenish the refrigerant to restore optimal performance.
By being aware of these signs, you can take proactive measures to address low refrigerant levels in your air conditioning system, ensuring it operates efficiently and effectively.
Tools You Need to Check Refrigerant Levels in Your AC
To maintain optimal performance of your air conditioning system, it’s essential to regularly check the refrigerant levels. Having the right tools on hand can make this task straightforward and efficient. Here’s a list of essential tools you’ll need to accurately measure refrigerant levels in your AC unit.
1. Refrigerant Gauge Set
A refrigerant gauge set is indispensable for checking the pressure of the refrigerant in your AC system. This tool typically includes both a low-pressure gauge and a high-pressure gauge, allowing you to assess whether the refrigerant levels are within the recommended range. When using a refrigerant gauge set, ensure you follow the manufacturer’s instructions for accurate readings.
2. Digital Thermometer
A digital thermometer is crucial for measuring the temperature of the air entering and exiting the AC unit. By comparing these temperatures, you can determine the system’s efficiency and identify any issues related to refrigerant levels. Look for a thermometer with a probe that can easily fit into the ducts for precise readings.
3. Manifold Gauge Set
For more advanced users, a manifold gauge set provides a comprehensive view of the refrigerant system. This tool allows you to not only check refrigerant levels but also diagnose issues within the system. It typically includes hoses, valves, and connectors that make it easier to connect to the AC unit.
4. Vacuum Pump
If you find that your refrigerant levels are low, you may need to recharge the system. A vacuum pump is essential for this process, as it removes any moisture and air from the refrigerant lines before adding new refrigerant. This step is crucial to prevent contamination and ensure the longevity of your AC unit.
Having these tools on hand will enable you to check refrigerant levels effectively and keep your air conditioning system running smoothly. Regular maintenance not only enhances efficiency but also prolongs the life of your AC unit.
When to Call a Professional for Refrigerant Level Issues
When dealing with refrigerant level issues, knowing when to call a professional can save you time, money, and potential damage to your cooling system. Refrigerant is essential for your air conditioning unit or refrigerator to function efficiently. If you notice any signs of low refrigerant levels, it’s crucial to act promptly. Here are some indicators that it’s time to seek professional help:
- Inadequate Cooling: If your air conditioning system is blowing warm air or your refrigerator isnt keeping food cold, it could be a sign of low refrigerant.
- Frequent Cycling: If your unit is constantly turning on and off, this could indicate a refrigerant leak or insufficient levels.
- Ice Buildup: Ice forming on the evaporator coils is a strong indicator of refrigerant issues, requiring expert assessment.
- Unusual Noises: Hissing or bubbling sounds may signal a refrigerant leak, necessitating immediate attention from a technician.
Another important factor to consider is the age and condition of your unit. Older systems may have more complex refrigerant issues that require specialized knowledge and tools to diagnose and repair. If your cooling system is outdated or has been experiencing frequent problems, calling a professional can help prevent further complications.
Additionally, handling refrigerant requires specific expertise and equipment. Attempting to fix refrigerant levels on your own can be dangerous and may lead to environmental hazards. Certified technicians are trained to safely manage refrigerants and comply with regulations, ensuring your system operates efficiently and responsibly. If you suspect a refrigerant issue, don’t hesitate to contact a professional to assess the situation.
Did you like this content How to Check Refrigerant Level in AC: Step-by-Step Guide See more here General Mechanics.
Leave a Reply