
How to Remove Gooseneck Ball from Bed: Step-by-Step Guide
- Understanding the Gooseneck Ball: What It Is and Its Purpose
- Essential Tools Needed to Remove a Gooseneck Ball from Your Bed
- Step-by-Step Guide: How to Safely Remove a Gooseneck Ball from Your Bed
- Common Mistakes to Avoid When Removing a Gooseneck Ball
- Tips for Maintaining Your Bed After Removing the Gooseneck Ball
Understanding the Gooseneck Ball: What It Is and Its Purpose
The gooseneck ball is a specialized component primarily used in towing applications, designed to facilitate the connection between a trailer and a towing vehicle. Typically found on fifth-wheel trailers, this type of ball hitch allows for a more stable and secure attachment than traditional ball hitches. The unique design of the gooseneck ball, which resembles the neck of a goose, provides a pivot point that enhances maneuverability while towing.
Key Features of the Gooseneck Ball:
- Enhanced Stability: The gooseneck ball is positioned over the rear axle of the towing vehicle, which significantly improves weight distribution and stability while driving.
- Improved Turning Radius: Its design allows for tighter turns compared to conventional ball hitches, making it ideal for navigating narrow spaces.
- Easy Installation: Many gooseneck ball systems come with a straightforward installation process, often requiring minimal tools.
The primary purpose of the gooseneck ball is to facilitate safe and effective towing of heavy loads, such as livestock trailers, RVs, and construction equipment. By using a gooseneck ball hitch, drivers can achieve better handling and control, particularly when maneuvering in challenging environments. This feature is especially important for individuals who frequently transport large or heavy trailers, as it reduces the risk of swaying or instability during transit.
Additionally, the gooseneck ball can often be removed or stowed away when not in use, allowing for a clean and unobstructed truck bed. This versatility makes it a popular choice among truck owners who need to balance towing capabilities with everyday utility. Whether you are a seasoned trucker or a casual user, understanding the gooseneck ball and its purpose can enhance your towing experience.
Essential Tools Needed to Remove a Gooseneck Ball from Your Bed
Removing a gooseneck ball from your truck bed requires the right tools to ensure a smooth and efficient process. Whether youre upgrading your towing system or simply need to remove the gooseneck hitch for storage, having the essential tools on hand can make all the difference. Below, we’ll outline the key tools youll need to successfully complete this task.
1. Socket Set
A comprehensive socket set is crucial for removing the bolts that secure the gooseneck ball in place. Typically, you will need a set that includes both metric and standard sizes, as the bolt sizes can vary depending on the hitch manufacturer. Make sure to include a ratchet and extension bars for added reach and leverage.
2. Wrench Set
In addition to a socket set, a quality wrench set is essential. Some bolts may require a wrench instead of a socket due to space constraints. Having both open-end and box-end wrenches will give you the flexibility needed to tackle any situation. Ensure that your wrench set is complete with various sizes to accommodate different bolt dimensions.
3. Torque Wrench
If youre planning to reinstall the gooseneck ball or any components afterward, a torque wrench is vital for ensuring that everything is tightened to the manufacturers specifications. Using a torque wrench helps prevent over-tightening or under-tightening, which can lead to safety issues while towing.
4. Pry Bar and Hammer
Sometimes, the gooseneck ball may be stuck due to rust or debris. A pry bar can be an invaluable tool for gently loosening the ball from its seat. If needed, a hammer can assist in tapping the pry bar into place to provide the necessary leverage. Always use caution to avoid damaging the truck bed or the hitch itself.
Having these essential tools ready will streamline the process of removing your gooseneck ball and ensure that you can handle the task with confidence.
Step-by-Step Guide: How to Safely Remove a Gooseneck Ball from Your Bed
Removing a gooseneck ball from your bed can seem daunting, but with the right approach, it can be done safely and efficiently. This guide will walk you through the essential steps to ensure you remove the gooseneck ball without damaging your bed or the ball itself.
Step 1: Gather Your Tools
Before you start, make sure you have the necessary tools at hand. You will need:
- Wrench or Pliers: To loosen any bolts or nuts.
- Screwdriver: For removing screws if applicable.
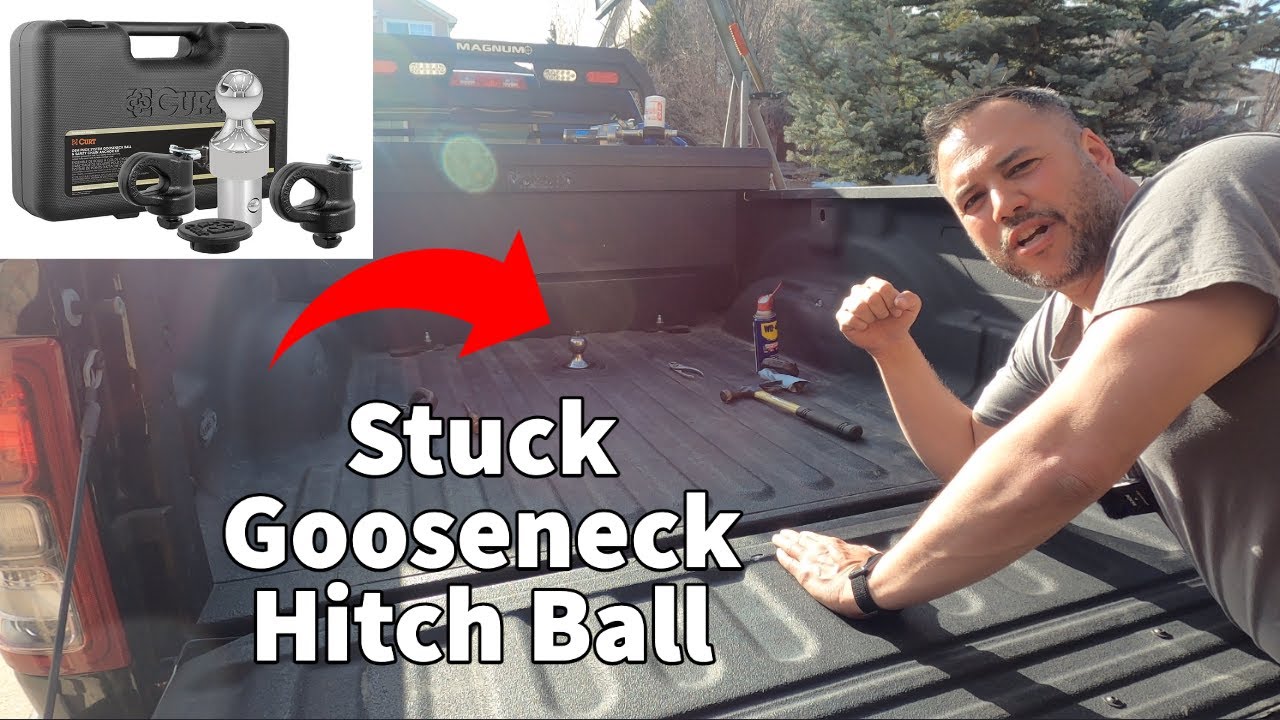
- Lubricant: Such as WD-40, to ease any rusted or stuck components.
- Safety Gloves: To protect your hands during the process.
Step 2: Prepare Your Workspace
Clear the area around your bed to give yourself enough room to work. It’s important to have good lighting and a clean space to avoid losing any small parts. If your gooseneck ball is connected to any additional components, take a moment to inspect these connections and ensure you understand how they are assembled.
Step 3: Loosen the Gooseneck Ball
Start by applying lubricant to any joints or connections that appear rusted or stuck. Allow it to sit for a few minutes to penetrate the rust. Using your wrench or pliers, carefully loosen the gooseneck ball. If it’s attached with screws, use the screwdriver to remove them. Be gentle to avoid stripping the screws or damaging the ball.
Step 4: Remove the Gooseneck Ball
Once the ball is loosened, gently wiggle it back and forth while pulling it away from the bed. If it resists, check for any remaining screws or bolts that may still be holding it in place. If necessary, repeat the lubrication process. Once freed, carefully set the gooseneck ball aside, ensuring it is placed in a safe location to avoid damage.
Common Mistakes to Avoid When Removing a Gooseneck Ball
Removing a gooseneck ball can seem straightforward, but several common mistakes can lead to complications or damage. One of the most significant errors is failing to properly secure the vehicle before beginning the removal process. Always ensure that your truck is parked on a level surface and the parking brake is engaged. Neglecting this step can result in unintended movement, posing safety risks and potentially damaging your equipment.
Another frequent mistake is not using the correct tools for the job. Using inappropriate tools can lead to stripped bolts or damaged components. Always refer to your vehicle’s manual for the recommended tools and methods for removing the gooseneck ball. Using a wrench or socket that fits snugly is crucial to avoid rounding off the edges of the bolts. Additionally, consider using a penetrating oil on any rusted or stuck components to make the removal process smoother.
Many individuals also overlook the importance of inspecting the gooseneck hitch and surrounding components before removal. Check for wear and tear, such as rust, cracks, or any other signs of damage. Ignoring these issues can lead to further complications down the line, making it essential to address any problems before attempting to remove the ball. Taking the time to assess your equipment can save you time and money in the long run.
Finally, don’t rush the process. Hurrying through the removal can lead to mistakes, such as forgetting to disconnect safety chains or wiring harnesses. Always take a methodical approach, and follow each step carefully. Documenting your process or following a checklist can help ensure that you don’t miss any critical steps, ultimately leading to a safer and more efficient removal.
Tips for Maintaining Your Bed After Removing the Gooseneck Ball
Removing the gooseneck ball from your truck bed is an important step in maintaining the integrity and appearance of your vehicle. Once the ball is removed, it’s crucial to take specific actions to ensure that your bed remains in optimal condition. Here are some practical tips to help you maintain your truck bed after this removal.
1. Clean the Area Thoroughly
After the gooseneck ball has been removed, the first step is to thoroughly clean the area where it was installed. Use a mild detergent and water solution to remove any dirt, grease, or debris. A soft-bristled brush can help you get into any crevices. Make sure to dry the area completely to prevent rust or corrosion.
2. Inspect for Damage
Once the area is clean, inspect it for any signs of damage that may have occurred during the gooseneck ball installation or removal. Look for scratches, dents, or rust spots. If you find any damage, consider addressing it promptly. You can use touch-up paint for scratches or a rust-inhibiting spray for any rust spots to maintain the beds integrity.
3. Apply Protective Coating
To protect your truck bed from future wear and tear, applying a protective coating is highly recommended. Consider using a bed liner or a spray-on protective coating. These products provide a barrier against scratches, dents, and environmental factors that could harm the bed over time. Ensure the surface is clean and dry before application for the best results.
4. Regular Maintenance Checks
Incorporate regular maintenance checks into your routine. Inspect the truck bed for any signs of wear and tear, particularly around the area where the gooseneck ball was located. Keeping an eye on your truck bed will help you catch any potential issues early, ensuring your vehicle remains in top condition for years to come.
Did you like this content How to Remove Gooseneck Ball from Bed: Step-by-Step Guide See more here General Mechanics.
Leave a Reply