
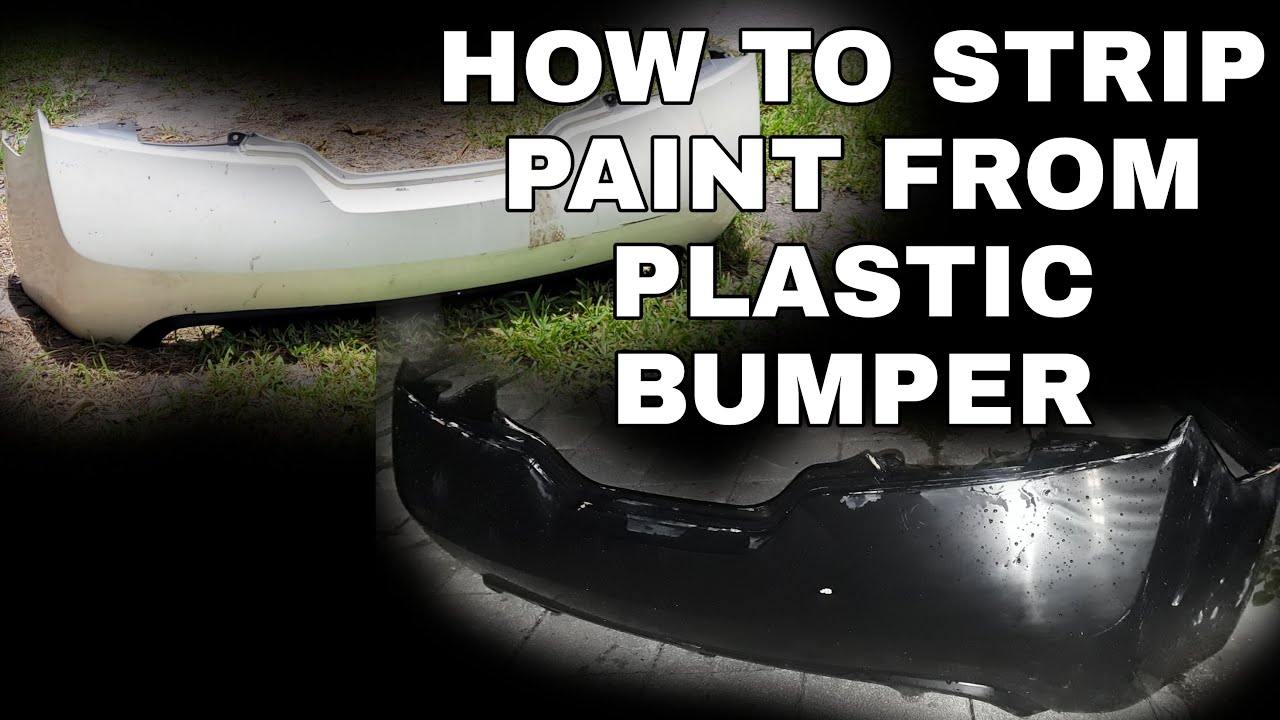
How to Remove Paint from a Plastic Bumper: Step-by-Step Guide
- Understanding the Challenges of Removing Paint from Plastic Bumpers
- Essential Tools and Materials for Effective Paint Removal
- Step-by-Step Guide: How to Remove Paint from Your Plastic Bumper
- Tips and Tricks for Safely Restoring Your Plastic Bumpers Finish
- Preventing Future Paint Issues on Plastic Bumpers
Understanding the Challenges of Removing Paint from Plastic Bumpers
Removing paint from plastic bumpers can be a daunting task, primarily due to the unique properties of plastic materials. Unlike metal surfaces, plastic is more susceptible to damage from harsh chemicals and abrasive techniques. This sensitivity can lead to warping, discoloration, or even cracking if not handled with care. Understanding these challenges is essential for anyone looking to restore their vehicles appearance without causing further harm.
One of the primary challenges in paint removal from plastic bumpers is the risk of damaging the underlying plastic. Chemical paint strippers, while effective on metal, can degrade the plastic itself. It is crucial to choose products specifically formulated for use on plastic surfaces. Additionally, the paint adhesion on plastic is often stronger than on metal, making it harder to strip away completely. This can lead to uneven surfaces and the potential for needing to repaint the entire bumper.
Another significant factor to consider is the type of paint used on the bumper. Automotive paints can vary widely in composition, with some being more resilient than others. For instance, urethane-based paints may require specialized solvents for removal, while latex paints may be easier to tackle with milder solutions. Identifying the paint type can significantly influence the approach taken for removal and the tools necessary for the job.
Lastly, the application technique plays a critical role in successfully removing paint from plastic bumpers. Techniques such as sanding or scraping can easily damage the surface if not performed with precision. Instead, utilizing methods like heat guns or gentle chemical applications may yield better results. Additionally, testing any method on a small, inconspicuous area first can help gauge the potential impact on the bumpers integrity, ensuring a safer and more effective removal process.
Essential Tools and Materials for Effective Paint Removal
When embarking on a paint removal project, having the right tools and materials at your disposal is crucial for achieving effective results. The following essential items will help streamline the process, making it easier and more efficient.
1. Scrapers and Putty Knives
Scrapers and putty knives are fundamental tools for any paint removal job. They allow you to manually lift and scrape away paint layers from surfaces. Look for a variety of sizes, including both wide and narrow blades, to tackle different areas. A high-quality scraper with a comfortable grip can reduce hand fatigue and increase precision.
2. Chemical Strippers
Chemical paint strippers are effective solutions for removing multiple layers of paint, especially in hard-to-reach areas. These products typically come in liquid or gel form and work by breaking down the paints bond with the underlying surface. When using chemical strippers, always ensure proper ventilation and wear protective gear, such as gloves and goggles, to safeguard against harmful fumes.
3. Sanding Tools
Sanding is another effective method for paint removal, particularly for surfaces that require a smooth finish after the paint is stripped. Essential sanding tools include:
- Sanding blocks - Ideal for flat surfaces.
- Orbital sanders - Perfect for larger areas, providing even results.
- Sandpaper - Available in various grits, allowing for fine or coarse sanding as needed.
Using the appropriate grit sandpaper is key; start with a coarser grit to remove the bulk of the paint and gradually move to a finer grit for a polished finish.
4. Protective Gear
Safety should always be a priority during paint removal projects. Essential protective gear includes:
- Respirators - To protect against inhaling toxic fumes.
- Gloves - To safeguard your hands from chemicals and sharp edges.
- Safety goggles - To shield your eyes from debris and splashes.
Equipping yourself with these protective materials not only ensures your safety but also allows you to focus on the task at hand without distraction.
Step-by-Step Guide: How to Remove Paint from Your Plastic Bumper
Removing paint from a plastic bumper can seem daunting, but with the right approach and tools, it can be accomplished effectively. This guide will walk you through a simple, step-by-step process to restore your bumper to its original condition.
Step 1: Gather Your Supplies
Before you begin, make sure you have the following supplies on hand:
- Plastic scraper or putty knife: To gently lift paint off the surface.
- Automotive paint remover: Specifically formulated for use on plastic.
- Soft cloths: For cleaning and wiping away residue.
- Water and soap solution: For rinsing the bumper after treatment.
- Protective gloves and goggles: To ensure your safety while working.
Step 2: Test a Small Area
Before applying any paint remover, it’s crucial to test a small, inconspicuous area of the bumper. Apply a small amount of the automotive paint remover and let it sit for a few minutes. This will help you gauge how the plastic reacts to the remover without risking damage to the entire surface. If there’s no adverse reaction, proceed with the next steps.
Step 3: Apply the Paint Remover
Using your soft cloth, apply the paint remover to the painted areas of the bumper. Follow the manufacturers instructions for the specific product you are using. Allow the remover to sit for the recommended time, usually around 5 to 10 minutes, to soften the paint. Afterward, gently scrape away the paint using the plastic scraper, being careful not to scratch the bumper surface.
Step 4: Clean and Rinse
Once the paint is removed, it’s essential to clean the area thoroughly. Use a soap and water solution to wipe down the bumper, removing any leftover paint remover residue. Rinse the bumper with clean water and dry it with a soft cloth. This will help ensure that your plastic bumper is not only free from paint but also free from any chemicals that could cause future damage.
Tips and Tricks for Safely Restoring Your Plastic Bumpers Finish
Restoring the finish of your plastic bumpers can significantly enhance your vehicles appearance, but it requires careful handling to avoid damage. One of the first steps is to thoroughly clean the bumper. Use a gentle car soap and a soft sponge to remove dirt and grime. Avoid harsh chemicals, as they can damage the plastic. After cleaning, rinse the bumper with water and dry it with a microfiber cloth to prevent water spots.
Choosing the Right Products
When selecting products for restoration, opt for those specifically designed for plastic. Here are some recommended options:
- Plastic Restorer: Look for a high-quality plastic restorer that can rejuvenate faded surfaces.
- UV Protectant: Applying a UV protectant can help shield your bumper from sun damage and fading.
- Detailing Spray: A detailing spray can enhance shine and provide a protective layer.
After selecting the right products, apply them using a soft applicator pad. Work in small sections, applying the product evenly and allowing it to penetrate the surface. This method not only ensures a consistent finish but also minimizes the risk of streaking or uneven application.
Finishing Touches
Once the product has been applied, let it cure as per the manufacturers instructions. For an extra layer of protection and shine, consider following up with a quality wax or sealant designed for plastics. This step will enhance the overall appearance and longevity of the finish, keeping your plastic bumpers looking their best for an extended period. Regular maintenance, including washing and reapplying protectants, will help maintain the restored finish and keep your bumpers in top shape.
Preventing Future Paint Issues on Plastic Bumpers
To ensure the longevity and aesthetic appeal of your plastic bumpers, taking proactive steps to prevent paint issues is essential. Plastic bumpers are particularly susceptible to various environmental factors and wear and tear, which can lead to peeling, fading, and chipping of paint. Here are some effective strategies to maintain your bumpers paint job.
Regular Cleaning and Maintenance
One of the simplest ways to prevent paint issues is through regular cleaning. Dust, dirt, and road grime can accumulate on your bumper, leading to a compromised paint finish. Consider the following cleaning tips:
- Use a pH-balanced car wash soap: This helps avoid harsh chemicals that can strip paint.
- Soft microfiber cloths: Always use soft cloths to prevent scratching the surface.
- Rinse thoroughly: Ensure all soap residues are removed to prevent buildup.
Applying Protective Coatings
Applying a protective coating can significantly reduce the risk of paint damage. These coatings act as a barrier against UV rays, moisture, and other harmful elements. Consider these options:
- Waxing: Regularly wax your bumper to provide a protective layer that enhances shine and shields against contaminants.
- Sealants: Use a high-quality paint sealant that offers longer-lasting protection compared to traditional wax.
- Clear bra or film: Installing a clear protective film can safeguard against scratches and chips.
Park Smartly and Avoid Hazards
Where you park can significantly impact the condition of your plastic bumpers. Avoid parking in areas that expose your vehicle to potential damage. Follow these tips:
- Avoid direct sunlight: Prolonged exposure to UV rays can cause paint to fade.
- Steer clear of shopping carts and other vehicles: Keep a safe distance to minimize the risk of dings and scratches.
- Choose covered parking: Whenever possible, opt for garages or carports to shield your vehicle from the elements.
By implementing these preventative measures, you can keep your plastic bumpers looking pristine and maintain the integrity of their paint for years to come.
Did you like this content How to Remove Paint from a Plastic Bumper: Step-by-Step Guide See more here General Mechanics.
Leave a Reply