
Learn How to Properly Install a Mechanical Fuel Pump: Step-by-Step Guide
Understanding the Basics of Mechanical Fuel Pumps
Mechanical fuel pumps are essential components in many internal combustion engines, primarily serving to deliver fuel from the tank to the engine at the appropriate pressure. These pumps operate based on mechanical principles, often driven by the engine’s camshaft or crankshaft. This connection ensures that fuel is supplied in accordance with the engines demands, particularly during various operating conditions.
How Mechanical Fuel Pumps Work
Mechanical fuel pumps utilize a diaphragm or piston mechanism to create a vacuum that draws fuel from the tank. As the engine runs, the movement of the camshaft or crankshaft activates the pump, which in turn compresses the diaphragm or piston. This action generates suction that pulls fuel into the pump from the fuel tank. The fuel is then pushed through the fuel lines to the carburetor or fuel injection system, maintaining a steady flow required for optimal engine performance.
Key Features of Mechanical Fuel Pumps
- Simplicity: Mechanical fuel pumps are relatively simple in design, which makes them easy to install and maintain.
- Reliability: They are known for their durability and reliability, often requiring minimal repairs throughout their lifespan.
- Cost-Effectiveness: Typically, mechanical fuel pumps are more affordable compared to their electric counterparts, making them a popular choice for many classic and vintage vehicles.
Applications of Mechanical Fuel Pumps
Mechanical fuel pumps are commonly found in older vehicles, particularly those with carbureted engines. They are also used in various small engines, such as those found in lawn mowers and generators. Despite the growing popularity of electric fuel pumps, mechanical versions remain a viable option for specific applications where simplicity and reliability are paramount. Understanding the fundamentals of these pumps can help vehicle owners make informed decisions regarding maintenance and repairs.
Essential Tools and Materials Needed for Installation
When embarking on an installation project, having the right tools and materials is crucial for ensuring a smooth and successful process. The specific tools required may vary depending on the type of installation, but there are some essentials that are generally applicable across various projects.
Basic Hand Tools: A solid toolkit is fundamental for any installation job. Essential hand tools typically include:
- Screwdrivers: Both flathead and Phillips screwdrivers are necessary for driving screws.
- Pliers: Needle-nose and standard pliers help with gripping and bending materials.
- Wrenches: Adjustable wrenches and socket sets are important for tightening nuts and bolts.
- Measuring Tape: Accurate measurements are key, so a reliable measuring tape is a must-have.
- Utility Knife: Ideal for cutting various materials, from drywall to insulation.
Power Tools: Depending on the complexity of your installation, power tools can significantly expedite the process. Common power tools include:
- Drill: A cordless drill is essential for drilling holes and driving screws quickly.
- Saw: Whether its a circular saw or a jigsaw, having the right saw can help you cut through different materials effectively.
- Impact Driver: This tool is particularly useful for driving large screws and fasteners with ease.
Materials: In addition to tools, having the right materials on hand is vital for any installation. Common materials might include:
- Fasteners: Screws, nails, and anchors are essential for securing components together.
- Sealants: Caulk or adhesive can help ensure a watertight and secure fit in various installations.
- Insulation: Depending on the project, insulation materials may be necessary for energy efficiency.
Equipping yourself with these essential tools and materials will not only enhance the efficiency of your installation process but also contribute to a more polished and professional result.
Step-by-Step Guide to Properly Install a Mechanical Fuel Pump
Installing a mechanical fuel pump can seem daunting, but with the right tools and guidance, you can accomplish this task efficiently. This step-by-step guide will walk you through the entire process, ensuring that you install your mechanical fuel pump correctly for optimal performance.
Tools and Materials Needed
Before you begin, gather the necessary tools and materials:
- Wrench set - to remove and tighten bolts
- Screwdriver - for securing any clamps
- Fuel line - ensure it is compatible with your pump
- Gasket - a new gasket is often required for sealing
- Fuel pump - ensure it is the correct model for your vehicle
- Safety goggles - for protection during installation
Step-by-Step Installation Process
1. Safety First: Begin by disconnecting the negative terminal of the battery to prevent any electrical hazards. Ensure you are working in a well-ventilated area and wear safety goggles to protect your eyes from fuel splashes.
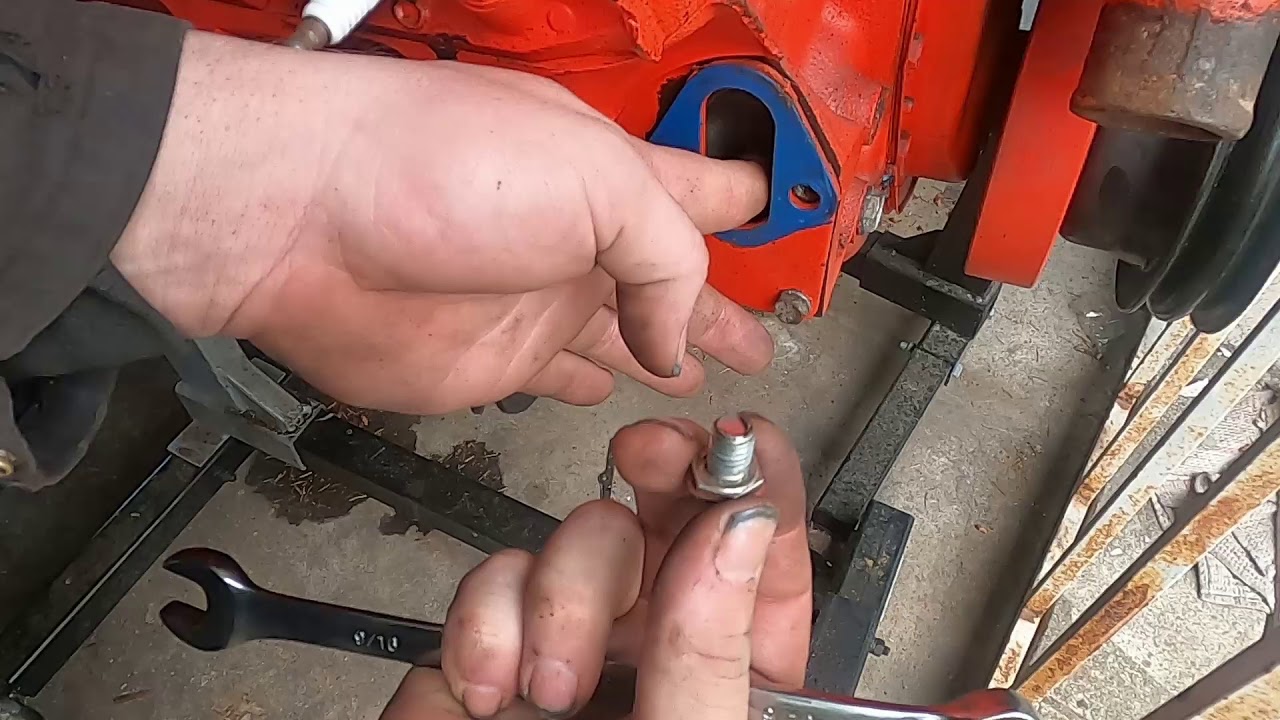
2. Remove the Old Pump: Locate the existing mechanical fuel pump, typically mounted on the engine block. Disconnect the fuel lines carefully, using a wrench to avoid damaging the fittings. Remove any bolts securing the pump to the engine and lift it out.
3. Prepare the New Pump: Before installing the new pump, compare it with the old one to ensure compatibility. Apply a thin layer of gasket maker to the mounting surface if required, and place the new gasket onto the pump.
4. Install the New Pump: Position the new mechanical fuel pump onto the engine block, aligning it with the mounting holes. Secure it with bolts, tightening them evenly to avoid warping the pump. Reconnect the fuel lines, ensuring they are snug but not overly tight to prevent damage.
5. Reconnect the Battery: Once everything is securely in place, reconnect the negative terminal of the battery. Start the engine and check for any leaks around the fuel pump and lines. If everything is secure, your installation is complete, and your vehicle should run smoothly with the new pump in place.
Common Mistakes to Avoid When Installing a Mechanical Fuel Pump
When installing a mechanical fuel pump, its crucial to avoid several common mistakes that can lead to performance issues or even pump failure. One of the most frequent errors is neglecting to check compatibility with your vehicles engine. Before purchasing a pump, ensure that it is specifically designed for your engine type and model. Using an incompatible pump can result in inadequate fuel delivery, leading to poor engine performance or damage.
Another mistake to avoid is failing to follow the manufacturer’s instructions. Each mechanical fuel pump comes with specific guidelines for installation that should not be overlooked. Skipping steps or improvising can lead to improper installation, which may cause leaks or malfunctions. Always read the manual thoroughly and adhere to the recommended torque specifications for mounting bolts and fittings.
Additionally, overlooking the fuel lines can be a costly error. It’s essential to inspect the fuel lines for wear and tear before connecting them to the new pump. If the lines are cracked or damaged, they should be replaced to prevent fuel leaks. Ensure that all connections are tight and secure, as loose fittings can lead to pressure drops and reduced fuel flow.
Lastly, be cautious about positioning the pump. Mechanical fuel pumps often require a specific orientation to function correctly. Installing the pump at an incorrect angle can hinder its performance and lead to premature failure. Take the time to ensure that the pump is mounted properly and that it is aligned with the fuel tank to facilitate smooth fuel flow.
Maintenance Tips for Longevity of Your Mechanical Fuel Pump
Maintaining your mechanical fuel pump is essential for ensuring its longevity and optimal performance. Regular upkeep not only extends the lifespan of the pump but also enhances the overall efficiency of your vehicle’s fuel system. Here are some crucial maintenance tips to keep your mechanical fuel pump in top condition.
Regular Inspection
Performing regular inspections is key to identifying potential issues before they escalate. Look for signs of wear and tear, such as cracks in the pump housing or fuel leaks. Additionally, check the fuel lines and connections for any signs of corrosion or damage. A thorough inspection every few months can help catch problems early and save you from costly repairs.
Keep Fuel Clean
Contaminated fuel can lead to serious issues with your mechanical fuel pump. To prevent this, always use high-quality fuel from reputable sources. Consider adding a fuel filter to your system if one is not already in place, as it can trap impurities and protect the pump. Regularly replacing the fuel filter is also essential to ensure that your pump is receiving clean fuel.
Monitor Fuel Pressure
Maintaining the correct fuel pressure is crucial for the proper functioning of your mechanical fuel pump. Use a fuel pressure gauge to check the pressure regularly and ensure it stays within the manufacturer’s specified range. If you notice any fluctuations or drops in pressure, it may indicate a problem with the pump or other components in the fuel system. Addressing these issues promptly can prevent further damage and maintain the efficiency of your vehicle.
By following these maintenance tips, you can significantly enhance the lifespan and reliability of your mechanical fuel pump. Regular inspections, keeping fuel clean, and monitoring fuel pressure are simple yet effective strategies that contribute to the overall health of your fuel system.
Did you like this content Learn How to Properly Install a Mechanical Fuel Pump: Step-by-Step Guide See more here General Mechanics.
Leave a Reply