
Upgrading from Sync 2 to Sync 3: Complete Guide & Costs
- Upgrading from Sync 2 to Sync 3: Overview, Benefits, and Why It Matters
- How to Upgrade from Sync 2 to Sync 3 — Step-by-Step Guide and Required Parts
- Cost of Upgrading from Sync 2 to Sync 3: Parts, Labor, and DIY vs Professional
- Compatibility Checklist: Which Ford Models Support Upgrading from Sync 2 to Sync 3
- Common Issues After Upgrading from Sync 2 to Sync 3 and How to Troubleshoot Them
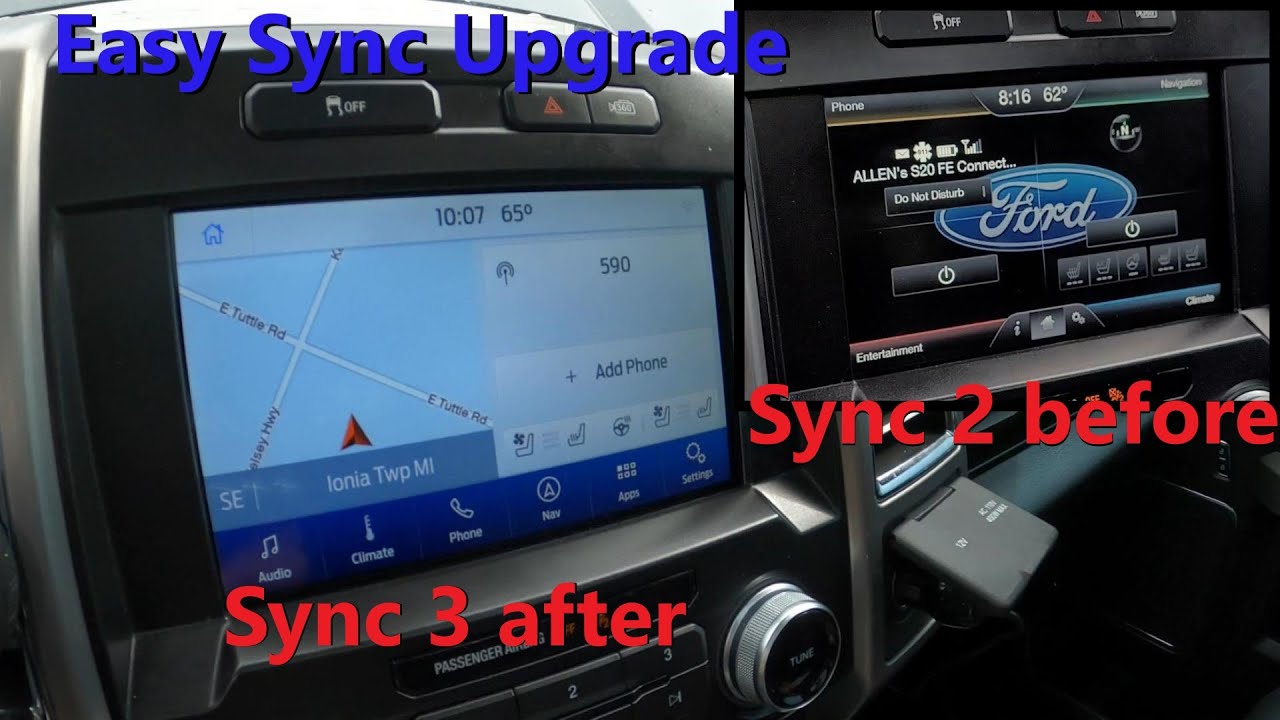
Upgrading from Sync 2 to Sync 3: Overview, Benefits, and Why It Matters
How to Upgrade from Sync 2 to Sync 3 — Step-by-Step Guide and Required Parts
Required parts
- SYNC 3-compatible APIM or complete SYNC 3 head unit — the core module that replaces your SYNC 2 unit.
- Compatible wiring harness/adapter to mate the factory dash connectors to the SYNC 3 module (power, CAN bus, speakers).
- USB/data interface or USB extension — SYNC 3 expects a different USB input location and wiring than SYNC 2.
- GPS antenna or adapter if your vehicle’s connector differs, plus a NAV SD card when you want factory navigation.
- Backup camera and antenna adapters (if applicable), and any steering-wheel-control interface required for retainment.
- Mounting brackets, trim pieces, and basic tools to remove the dash and secure the new unit.
Start the upgrade by confirming vehicle compatibility and sourcing a genuine SYNC 3 APIM or fully assembled head unit that matches your region and options. Compare pinouts and connector types so you can order the correct wiring harness/adapter and any USB or antenna adapters needed. If you plan to keep factory navigation, ensure you have the proper NAV SD card and GPS antenna adapter before beginning disassembly.
The physical installation follows a straightforward path: disconnect the battery, remove dash trim panels and the SYNC 2 head unit, unplug all factory connectors, and remove the APIM/module. Use the supplied harness adapters to connect the SYNC 3 unit to the factory wiring (power, speakers, CAN bus, microphone, and vehicle antennas). Re-route and attach the USB/data lead to a convenient dash or glovebox port, connect the GPS antenna and camera inputs through their adapters, test fit the unit, then secure brackets and reinstall trim.
After hardware installation you’ll need to program or flash the new APIM so the vehicle recognizes SYNC 3 and enables features (this is commonly done at a Ford dealer or by a technician with the proper Ford programming tools). Once programmed, verify microphone, Bluetooth, Apple CarPlay/Android Auto, navigation (if installed), radio, and backup camera functions before final reassembly. Keep original SYNC 2 components and documentation until you’ve confirmed a successful, fully functional upgrade.
Cost of Upgrading from Sync 2 to Sync 3: Parts, Labor, and DIY vs Professional
Upgrading from Sync 2 to Sync 3 involves several hardware and software components that collectively determine the overall cost. Key parts commonly required include:
- Head unit/APIM replacement (the core module that runs Sync)
- Compatible touchscreen and dash bezel or trim pieces for a clean fit
- Wiring harnesses, connectors, and adapters to integrate with existing systems
- GPS antenna, microphone, camera harnesses or CAN interface modules when adding features
- Software licensing or reflashing costs to enable Sync 3 features
The cost for parts varies by whether you choose OEM, refurbished, or aftermarket components and by vehicle model year and trim. OEM/APIM units generally offer the smoothest integration but typically carry a premium; refurbished or aftermarket conversion kits can lower upfront parts cost but may require additional adapters or modifications for full compatibility.
Labor is a significant portion of the upgrade expense because the swap often requires dashboard disassembly, module replacement, harness routing, and precise reassembly. Labor time depends on technician experience and the vehicle’s complexity; dealer shops tend to charge higher hourly rates but include factory programming, whereas independent shops or specialist installers may be less expensive but vary in the scope of included services. An often-overlooked labor item is the time needed for coding and software programming—activating features, updating firmware, and ensuring CAN-bus compatibility—which may require dealer-level tools or paid software services.
Choosing between DIY vs professional installation affects both cost and risk. DIY can reduce labor expenses if you have experience, proper tools, and access to correct wiring diagrams, but it raises the risk of compatibility issues, voiding warranties, or creating electrical problems that lead to higher downstream costs. Professional installers add labor fees but provide warrantyed work, access to programming tools, and typically faster, more reliable integration. To minimize total cost, consider sourcing verified compatible parts, confirming programming requirements in advance, and obtaining quotes that break out parts, labor, and programming fees separately.
Compatibility Checklist: Which Ford Models Support Upgrading from Sync 2 to Sync 3
How to verify whether your Ford model supports the Sync 2 → Sync 3 upgrade
Start by confirming that your vehicle is equipped with Sync 2 (commonly branded as MyFord Touch). The compatibility for an upgrade is not strictly determined by the car model name alone but by the specific factory head unit, screen size and wiring harness. Key checklist items: confirm Sync 2 is installed, note whether the vehicle has factory navigation, check the physical head unit and screen size, and record the head unit part number and your VIN. These details are essential because two cars with the same model name can have different factory electronics and thus different upgrade paths.
Common model families that frequently support an upgrade (subject to head unit and harness compatibility) include popular Ford families such as:
- Focus / Fiesta — compact and subcompact Ford models often found with Sync 2 hardware
- Fusion / Mondeo — mid-size sedans frequently upgraded by owners
- Escape / Kuga / C‑Max — crossover and small MPV models that commonly share compatible head units
- S‑Max / Galaxy / Edge / Explorer — larger family vehicles that sometimes use compatible factory modules
- Transit / Transit Custom / F‑Series / Mustang — commercial and performance models that may be upgradeable depending on original equipment
Before purchasing any Sync 3 hardware or retrofit kit, use the head unit part number and VIN to confirm compatibility with the supplier or a Ford dealer. Many reputable aftermarket vendors and installers provide compatibility check tools—entering the VIN or photographing the existing head unit will ensure you get the correct Sync 3 module, wiring adapters and any necessary CAN-bus or microphone harnesses. Skipping these verification steps is the most common cause of failed or incomplete upgrades.
Common Issues After Upgrading from Sync 2 to Sync 3 and How to Troubleshoot Them
Upgrading from Sync 2 to Sync 3 commonly triggers connectivity and feature mismatches that affect daily use. Users often report Bluetooth pairing failures, intermittent audio dropouts, and Apple CarPlay/Android Auto not launching after the swap. Touchscreen responsiveness and voice-recognition behavior can also feel different because Sync 3 handles inputs and microphone signals differently than Sync 2; these symptoms are typical when the head unit and vehicle modules haven’t been fully aligned after the upgrade.
Start troubleshooting with basic software and phone checks before assuming a hardware fault. Perform a master reset of the Sync 3 unit, delete old Bluetooth pairings on both the head unit and the phone, then re-pair; ensure the phone’s OS and apps are up to date and grant necessary permissions for CarPlay/Android Auto. For media and USB issues, confirm the USB stick or phone cable is known-good and that media files are in supported formats; if using a USB drive, format as FAT32 and place media in simple folder structures. Quick checklist:
- Master reset the head unit and re-pair devices
- Use an OEM or high-quality USB cable for CarPlay/AA
- Update phone OS and Sync 3 firmware (if available)
- Check USB formatting and media file compatibility
More advanced problems often stem from installation and module compatibility rather than the Sync 3 software alone. If steering wheel controls, backup camera, microphone, or CAN-bus features behave erratically, verify the wiring harness, ground connections, and that the replacement APIM/module is coded for your vehicle — mismatched region or missing module coding can prevent full functionality. When on-board resets and user-level updates don’t resolve the issue, capture APIM logs if possible and consult a qualified installer or dealer for module reflashing, coding, or targeted firmware updates to restore full Sync 3 integration with vehicle systems.
Did you like this content Upgrading from Sync 2 to Sync 3: Complete Guide & Costs See more here General Mechanics.
Leave a Reply